S3 atau Simple Storage Service merupakan produk awal dari AWS di tahun 2006, kita dapat menyimpan file-file kita (unlimited, tanpa batasan jumlah file dan kapasitas) ke AWS S3. Jika kita pernah menggunakan Dropbox, maka Dropbox ini dibuat menggunakan AWS S3, meskipun baru-baru ini Dropbox sudah tidak menggunakan AWS S3 sebagai tempat penyimpanan file. Di bulan February 2011, AWS memberikan pemberitahuan bahwa AWS S3 sudah dapat digunakan sebagai web hosting untuk static website.
Untuk menggunakan AWS maka diperlukan registrasi terlebih dahulu dimana diperlukan kartu kredit sebagai metode pembayaran setelah melewati masa gratis pemakaian selama satu tahun (Free Tier). Secara umum, ada tiga metode jika ingin mengakses AWS:
Menggunakan console. Ini merupakan metode yang paling mudah dalam menggunakan fasilitas dari AWS. Pengguna hanya perlu login ke https://console.aws.amazon.com setelah melakukan proses registrasi.
Menggunakan AWS CLI. Metode ini menggunakan interface yang berupa command line interface, dimana command-command yang digunakan dalam bentuk text, berbeda dengan metode pertama, dimana pengguna menggunakan tools berbasis web dengan user interface yang intuitif.
Menggunakan SDK - Software Development Kit, yang tersedia untuk berbagai macam programming language.
Postingan kali ini, saya akan membahas mengenai metode nomor 2, khususnya yang berkaitan dengan penggunaan AWS S3. Sebelum mengikuti langkah berikut, kita mesti sudah diverifikasi oleh AWS ketika melakukan registrasi, dimana verifikasinya adalah melalui panggilan telpon dan dilanjutkan dengan menekan PIN seperti yang diinstruksikan dari panggilan telpon tersebut. Silahkan membaca dokumentasi terbaru mengenai awscli ini. Berikut adalah langkah-langkahnya:
Download script untuk instalasi:
$ curl -O https://bootstrap.pypa.io/get-pip.pyJalankan script tersebut dengan menggunakan command python
$ sudo -H python get-pip.pyLakukan instalasi awscli:
$ sudo -H pip install awscli --ignore-installed sixPastikan instalasi awscli berhasil dengan mengeksekusi command di bawah ini:
Jika semuanya berjalan lancar maka command di atas akan menampilkan menu help.$ aws helpSebelum melakukan langkah kelima, kita mesti membuat AWS Access Key dan AWS Secret Key, yang merupakan metode autentikasi untuk menggunakan platform cloud dari AWS. Salah satu tips untuk membuat AWS Access Key dan AWS Secret Key ini adalah memberikan limitasi sebatas apa yang diperlukan ketika mengakses suatu resource yang hendak digunakan. Untuk mencapai hal ini dibutuhkan pengetahuan mengenai Identity Access Management - IAM. Singkatnya, tidak perlu diberikan Full Access melainkan cukup diberikan Read Access jika memang kebutuhannya hanya sebatas Read saja. Di postingan lain, saya akan membahas mengenai Identity Access Management, yaitu salah satu tools untuk membuat AWS Access Key dan AWS Secret Key. Langkah kelima ini adalah kita melakukan konfigurasi awscli agar dapat digunakan sesuai dengan peruntukannya.
$ aws configure
AWS Access Key ID [None]: AKIAI44QH8DHBEXAMPLE
AWS Secret Access Key [None]: je7MtGbClwBF/2Zp9Utk/h3yCo8nvbEXAMPLEKEY
Default region name [None]: ap-southeast-1
Default output format [None]: json
Tergantung dimana kita berada, default region dapat dipilih dari region yang terdekat dengan lokasi dan audiens dari pengguna aplikasi kita. Region ini juga dapat dipilih berdasarkan feature-feature tertentu yang mungkin tidak tersedia di region terdekat tapi tersedia di region yang lain. Dalam hal ini, saya menggunakan region ap-southeast-1, yaitu Singapore karena lokasinya berdekatan dengan lokasi dimana saya dan client saya berada. List dari region yang terbaru saat ini, dapat dibaca di link ini atau di link ini.
Di postingan sebelumnya, saya sudah membahas mengenai bagaimana menghasilkan file-file yang dapat dipindahkan langsung ke AWS S3. Sebelum command ini dieksekusi, folder untuk menampung sudah dipersiapkan terlebih dahulu. Istilah yang digunakan di AWS S3 untuk penampungan ini adalah bucket. Ini adalah contoh dari bucket s3://belajar.it Pastikan kita masuk ke folder public dari site yang kita buat di PC atau laptop. Dalam contoh di bawah ini, site yang kita buat adalah belajar.
cd /Users/rootofallevil/belajar/public
Berikut adalah command untuk memindahkan seluruh isi dari folder public yang berlokasi di PC atau laptop kita ke AWS S3 bucket yang bernama belajar (nama folder di lokal PC atau laptop tidak harus sama dengan nama bucket di AWS S3)
$ aws s3 sync . s3://belajar.it/
upload: ./404.html to s3://belajar.it/404.html
upload: blog/postingan_1/index.html to s3://belajar.it/blog/postingan_1/index.html
upload: categories/development/index.html to s3://belajar.it/categories/development/index.html
upload: blog/index.html to s3://belajar.it/blog/index.html
upload: ./.DS_Store to s3://belajar.it/.DS_Store
upload: blog/hugoisforlovers/index.html to s3://belajar.it/blog/hugoisforlovers/index.html
upload: categories/golang/index.html to s3://belajar.it/categories/golang/index.html
upload: categories/projects/index.html to s3://belajar.it/categories/projects/index.html
upload: blog/migrate-from-jekyll/index.html to s3://belajar.it/blog/migrate-from-jekyll/index.html
upload: css/main.css to s3://belajar.it/css/main.css
upload: categories/development/index.xml to s3://belajar.it/categories/development/index.xml
upload: categories/projects/index.xml to s3://belajar.it/categories/projects/index.xml
upload: ./index.html to s3://belajar.it/index.html
upload: blog/goisforlovers/index.html to s3://belajar.it/blog/goisforlovers/index.html
upload: js/ie10-viewport-bug-workaround.js to s3://belajar.it/js/ie10-viewport-bug-workaround.js
upload: projects/index.html to s3://belajar.it/projects/index.html
upload: categories/golang/index.xml to s3://belajar.it/categories/golang/index.xml
upload: blog/creating-a-new-theme/index.html to s3://belajar.it/blog/creating-a-new-theme/index.html
upload: js/docs.min.js to s3://belajar.it/js/docs.min.js
upload: projects/project_1/index.html to s3://belajar.it/projects/project_1/index.html
upload: projects/index.xml to s3://belajar.it/projects/index.xml
upload: js/main.js to s3://belajar.it/js/main.js
upload: resume/index.xml to s3://belajar.it/resume/index.xml
upload: ./sitemap.xml to s3://belajar.it/sitemap.xml
upload: resume/index.html to s3://belajar.it/resume/index.html
upload: tags/development/index.html to s3://belajar.it/tags/development/index.html
upload: tags/go/index.html to s3://belajar.it/tags/go/index.html
upload: tags/golang/index.html to s3://belajar.it/tags/golang/index.html
upload: tags/hugo/index.html to s3://belajar.it/tags/hugo/index.html
upload: tags/go/index.xml to s3://belajar.it/tags/go/index.xml
upload: tags/hugo/index.xml to s3://belajar.it/tags/hugo/index.xml
upload: tags/development/index.xml to s3://belajar.it/tags/development/index.xml
upload: tags/projects/index.html to s3://belajar.it/tags/projects/index.html
upload: tags/golang/index.xml to s3://belajar.it/tags/golang/index.xml
upload: img/profile.png to s3://belajar.it/img/profile.png
upload: tags/templates/index.html to s3://belajar.it/tags/templates/index.html
upload: tags/projects/index.xml to s3://belajar.it/tags/projects/index.xml
upload: blog/index.xml to s3://belajar.it/blog/index.xml
upload: tags/templates/index.xml to s3://belajar.it/tags/templates/index.xml
upload: tags/themes/index.html to s3://belajar.it/tags/themes/index.html
upload: tags/themes/index.xml to s3://belajar.it/tags/themes/index.xml
upload: ./index.xml to s3://belajar.it/index.xmlupload: ./404.html to s3://belajar.it/404.html
upload: blog/postingan_1/index.html to s3://belajar.it/blog/postingan_1/index.html
upload: categories/development/index.html to s3://belajar.it/categories/development/index.html
upload: blog/index.html to s3://belajar.it/blog/index.html
upload: ./.DS_Store to s3://belajar.it/.DS_Store
upload: blog/hugoisforlovers/index.html to s3://belajar.it/blog/hugoisforlovers/index.html
upload: categories/golang/index.html to s3://belajar.it/categories/golang/index.html
upload: categories/projects/index.html to s3://belajar.it/categories/projects/index.html
upload: blog/migrate-from-jekyll/index.html to s3://belajar.it/blog/migrate-from-jekyll/index.html
upload: css/main.css to s3://belajar.it/css/main.css
upload: categories/development/index.xml to s3://belajar.it/categories/development/index.xml
upload: categories/projects/index.xml to s3://belajar.it/categories/projects/index.xml
upload: ./index.html to s3://belajar.it/index.html
upload: blog/goisforlovers/index.html to s3://belajar.it/blog/goisforlovers/index.html
upload: js/ie10-viewport-bug-workaround.js to s3://belajar.it/js/ie10-viewport-bug-workaround.js
upload: projects/index.html to s3://belajar.it/projects/index.html
upload: categories/golang/index.xml to s3://belajar.it/categories/golang/index.xml
upload: blog/creating-a-new-theme/index.html to s3://belajar.it/blog/creating-a-new-theme/index.html
upload: js/docs.min.js to s3://belajar.it/js/docs.min.js
upload: projects/project_1/index.html to s3://belajar.it/projects/project_1/index.html
upload: projects/index.xml to s3://belajar.it/projects/index.xml
upload: js/main.js to s3://belajar.it/js/main.js
upload: resume/index.xml to s3://belajar.it/resume/index.xml
upload: ./sitemap.xml to s3://belajar.it/sitemap.xml
upload: resume/index.html to s3://belajar.it/resume/index.html
upload: tags/development/index.html to s3://belajar.it/tags/development/index.html
upload: tags/go/index.html to s3://belajar.it/tags/go/index.html
upload: tags/golang/index.html to s3://belajar.it/tags/golang/index.html
upload: tags/hugo/index.html to s3://belajar.it/tags/hugo/index.html
upload: tags/go/index.xml to s3://belajar.it/tags/go/index.xml
upload: tags/hugo/index.xml to s3://belajar.it/tags/hugo/index.xml
upload: tags/development/index.xml to s3://belajar.it/tags/development/index.xml
upload: tags/projects/index.html to s3://belajar.it/tags/projects/index.html
upload: tags/golang/index.xml to s3://belajar.it/tags/golang/index.xml
upload: img/profile.png to s3://belajar.it/img/profile.png
upload: tags/templates/index.html to s3://belajar.it/tags/templates/index.html
upload: tags/projects/index.xml to s3://belajar.it/tags/projects/index.xml
upload: blog/index.xml to s3://belajar.it/blog/index.xml
upload: tags/templates/index.xml to s3://belajar.it/tags/templates/index.xml
upload: tags/themes/index.html to s3://belajar.it/tags/themes/index.html
upload: tags/themes/index.xml to s3://belajar.it/tags/themes/index.xml
upload: ./index.xml to s3://belajar.it/index.xml
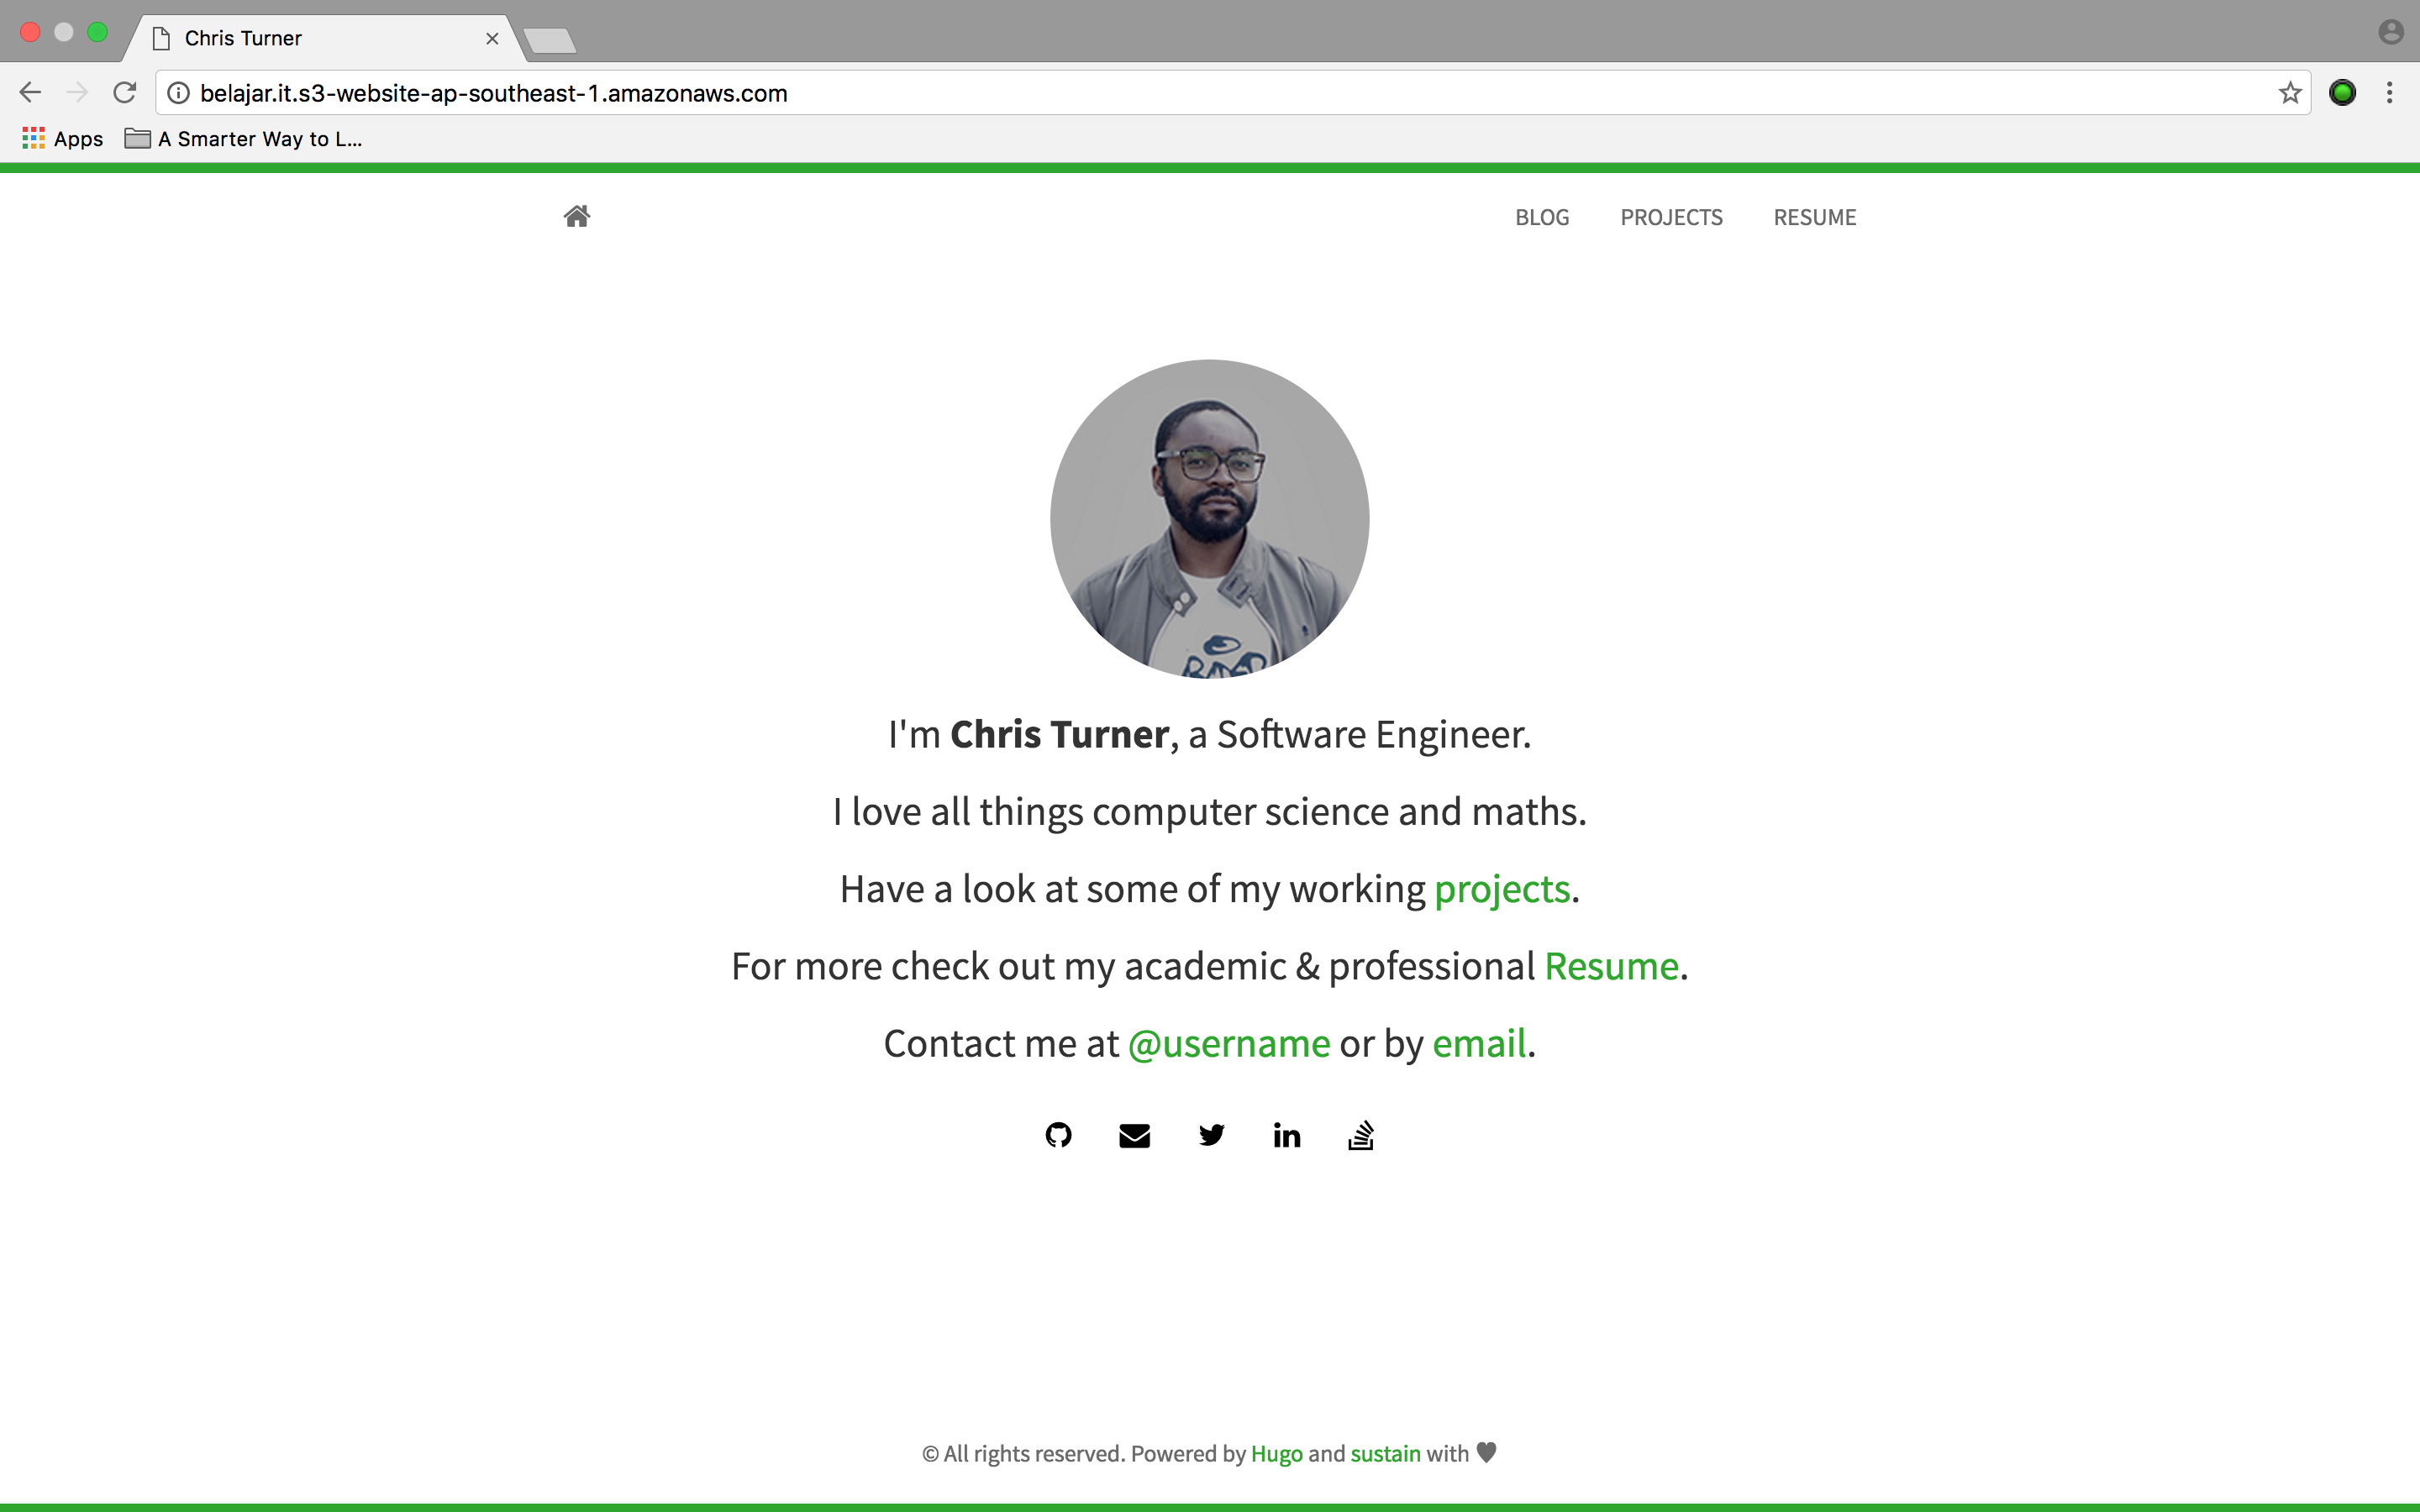
Untuk melihat tampilan dari site tersebut di AWS S3 dapat dilakukan dengan mengunjungi http://belajar.it.s3-website-ap-southeast-1.amazonaws.com. Berikut adalah tampilan dari website tersebut:
Sebagai referensi, ini adalah isi dari config.toml:
baseurl = "http://belajar.it.s3-website-ap-southeast-1.amazonaws.com/"
languageCode = "en-US"
title = "Chris Turner"
# Enable comments by entering your Disqus shortname
disqusShortname = ""
# Enable Google Analytics by entering your tracking code
googleAnalytics = ""
theme = "hugo-sustain"

[permalinks]
  post = "/:year/:month/:day/:slug"

[params]
  avatar = "profile.png"
  author = "Chris Turner"
  description = "Describe your website"

  # Custom assets can be linked with their paths relative to static/
  custom_css = []
  custom_js  = []

[social]
  Github        = "username"
  Email         = "email@example.com"
  Twitter       = "username"
  LinkedIn      = "username"
  Stackoverflow = "username"

## Main Menu
[[menu.main]]
  name = "blog"
  weight = 100
  identifier = "blog"
  url = "/blog/"
[[menu.main]]
  name = "projects"
  identifier = "projects"
  weight = 200
  url = "/projects/"
[[menu.main]]
  name = "resume"
  identifier = "resume"
  weight = 300
  url = "/resume/"
Bagi pembaca yang enggan menggunakan kartu kreditnya untuk digunakan di AWS ataupun yang tidak memiliki kartu kredit, namun berminat untuk menggunakan AWS S3 sebagai web hosting dengan biaya yang terjangkau, silahkan menghubungi email saya di bawah ini, untuk mendapatkan AWS Access Key dan AWS Secret Key.